Revolut USDT to Self-Custody Wallet No-KYC Direct Withdraw Guide 2026 Working Method
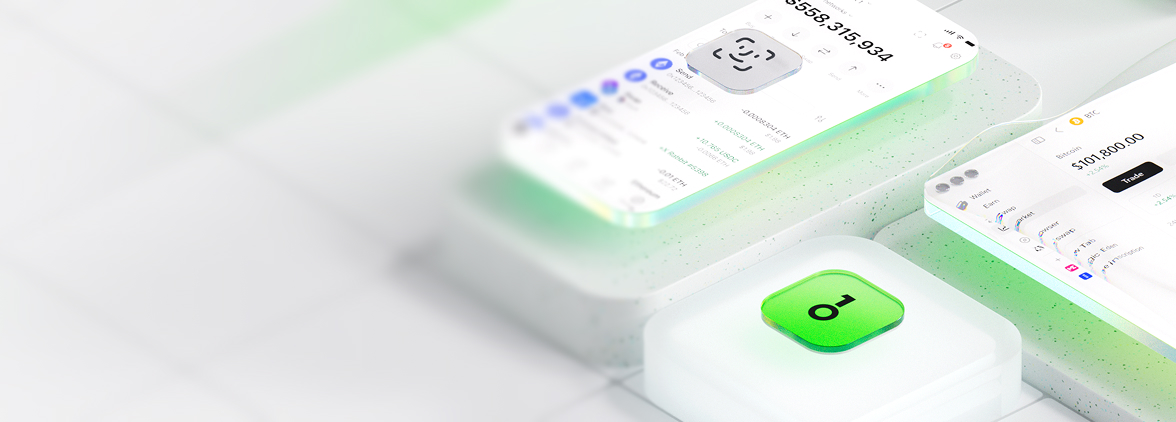
Why Withdraw USDT to OneKey Self-Custody?
Centralized platforms face ongoing regulatory scrutiny, as seen in recent SEC actions against crypto custodians. Self-custody eliminates counterparty risk, ensuring you hold your private keys. OneKey stands out with its EAL 5+ secure element and seamless integration for ERC-20 tokens like USDT. This method leverages Revolut's 2025-2026 withdrawal updates, supporting direct transfers on low-fee networks without extra identity checks for verified users.
Key benefits:
- No additional KYC: Uses your existing Revolut verification.
- Low fees: Tron network often under $1.
- Hyperliquid synergy: Post-withdrawal, bridge to Hyperliquid for high-leverage trading.
Prerequisites
Before starting:
- A verified Revolut account with USDT balance (minimum withdrawal typically $10 equivalent).
- OneKey hardware wallet set up with the latest firmware via OneKey App.
- USDT-compatible network: Prefer Tron (TRC-20) for speed and cost; Ethereum (ERC-20) as alternative.
- Stable internet and Revolut app updated to 2026 version.
Ensure your OneKey supports the chosen network— it handles both natively.
Step-by-Step Guide to Withdraw USDT from Revolut to OneKey
Step 1: Generate Your OneKey USDT Deposit Address
- Connect your OneKey to the OneKey App on your mobile/desktop.
- Navigate to Receive > Select USDT > Choose Tron (TRC-20) network.
- Verify the address on the device screen (always double-check to avoid phishing).
- Copy the address. This is your secure, self-custody destination.
Pro Tip: OneKey's on-device verification prevents address tampering.
Step 2: Initiate Withdrawal in Revolut
- Open the Revolut app and go to Crypto tab.
- Select USDT > Tap Send (or Withdraw in 2026 UI).
- Paste your OneKey TRC-20 address.
- Enter amount (account for ~0.5-2% Revolut fee + network gas).
- Review network compatibility—Revolut auto-suggests Tron for USDT.
- Confirm with biometrics/PIN. No extra KYC prompts for compliant transfers.
Revolut's crypto terms confirm direct external sends are enabled for US users post-2025 expansions.
Step 3: Monitor and Confirm the Transaction
- Track via Revolut's transaction history or Tronscan using your OneKey address.
- Expect 1-5 minutes confirmation on Tron.
- Once arrived, verify balance in OneKey App.
If issues arise (rare), Revolut support resolves most via in-app chat, as per their help center.
Troubleshooting Common Issues
- Network mismatch: Always match Tron/ERC-20; funds lost if incompatible.
- Minimums exceeded: Check Revolut limits (~$10 USDT).
- Delays: Peak times add 10-15 mins; use off-hours.
- Hyperliquid integration: After withdrawal to OneKey, bridge USDT via official tools for perp trading without centralized risks.
Security Best Practices
- Never share OneKey seed phrase.
- Use OneKey's passphrase for added protection.
- Enable 2FA on Revolut.
- For advanced users, explore Hyperliquid's non-custodial deposits post-transfer.
Final Thoughts
This direct, no-KYC method empowers Revolut users to achieve true self-custody in 2026. With rising DeFi adoption on platforms like Hyperliquid, securing your USDT in OneKey ensures you're ready for the next bull cycle. Download the OneKey App today and take control of your crypto future. Stay safe, HODL responsibly.