Hyperliquid for Beginners: Choosing the Right Wallet in 2026
Why wallet choice matters more in 2026
On-chain derivatives have moved from “experimental” to “daily-driver” infrastructure. In 2025, multiple research and market reports highlighted how decentralized perpetuals reached volumes that can rival major centralized venues during peak periods, with Hyperliquid frequently cited as a key catalyst for that shift (see this CoinDesk coverage: on-chain perps market scale in 2025).
For beginners, that growth creates a new problem: your wallet is no longer just a storage tool. It becomes your trading identity, your withdrawal authority, and sometimes your API security boundary. Picking the right setup can be the difference between a smooth first deposit and a painful lesson in phishing or key leakage.
This guide explains how the protocol’s wallet model works, what beginners should prioritize, and how OneKey can fit into a safer workflow without sacrificing usability.
A beginner-friendly mental model: two “layers” you interact with
HyperCore vs. HyperEVM (and why you’ll see both)
The ecosystem includes:
- A trading-focused environment (HyperCore) where actions like enabling trading and placing orders are designed to be fast and typically gas-less for trading.
- An EVM environment (HyperEVM) for smart contracts and typical EVM wallet interactions.
For beginners, the key takeaway is practical: you may do your first steps in the trading UI, then later add an EVM network to your wallet to use apps built on the EVM side. The official network parameters (Chain ID, RPC, explorers, and transfer behavior between Core and EVM) are documented here: how to add and use the HyperEVM network.
Deposits and withdrawals: what you actually sign
Funding commonly involves USDC on Arbitrum as collateral, with clear rules like minimum deposit amounts and supported assets (beginners should read: deposit basics and common issues).
Withdrawals are especially important for wallet selection: the bridge design relies on user signatures (and validator processing) rather than you manually sending a typical on-chain withdrawal transaction every time. For developers and advanced users, the signature flow is detailed in the official API docs: Bridge2 withdrawal signing.
Wallet options beginners will see (and how to decide)
Option A: Email-based login (convenience-first)
Some frontends support email onboarding and generate an address for you. This can feel frictionless, but you should treat it as a “training wheels” route:
- Pros: fast onboarding, fewer browser-extension hurdles.
- Cons: beginners may misunderstand custody and recovery expectations; also less portable across advanced workflows (multi-device, custom signing policies, strict separation of funds).
If you choose this route, still apply hardware-wallet thinking: don’t overfund the account until you fully understand exports, recovery, and withdrawal behavior.
Option B: EVM wallet connection (control-first)
Using a normal EVM wallet keeps you aligned with the broader EVM ecosystem and gives you clearer, industry-standard security assumptions. The official onboarding guide explains the flow (connect wallet → enable trading via signature → deposit): how to start trading.
This option is usually best if you plan to:
- Use multiple dApps on the EVM side
- Segment funds across addresses
- Add a hardware wallet signer (recommended)
What “the right wallet” means in 2026: a practical checklist
In 2026, beginners should optimize for damage containment, not just convenience:
- Key isolation: keep the private key offline during daily browsing.
- Clear signing UX: always confirm what you sign (especially typed data).
- Separation of roles: one address for trading, another for long-term storage.
- Fast recovery: a plan for lost devices and safe backups.
- EVM compatibility: easy network addition (for example, via ChainList network listing).
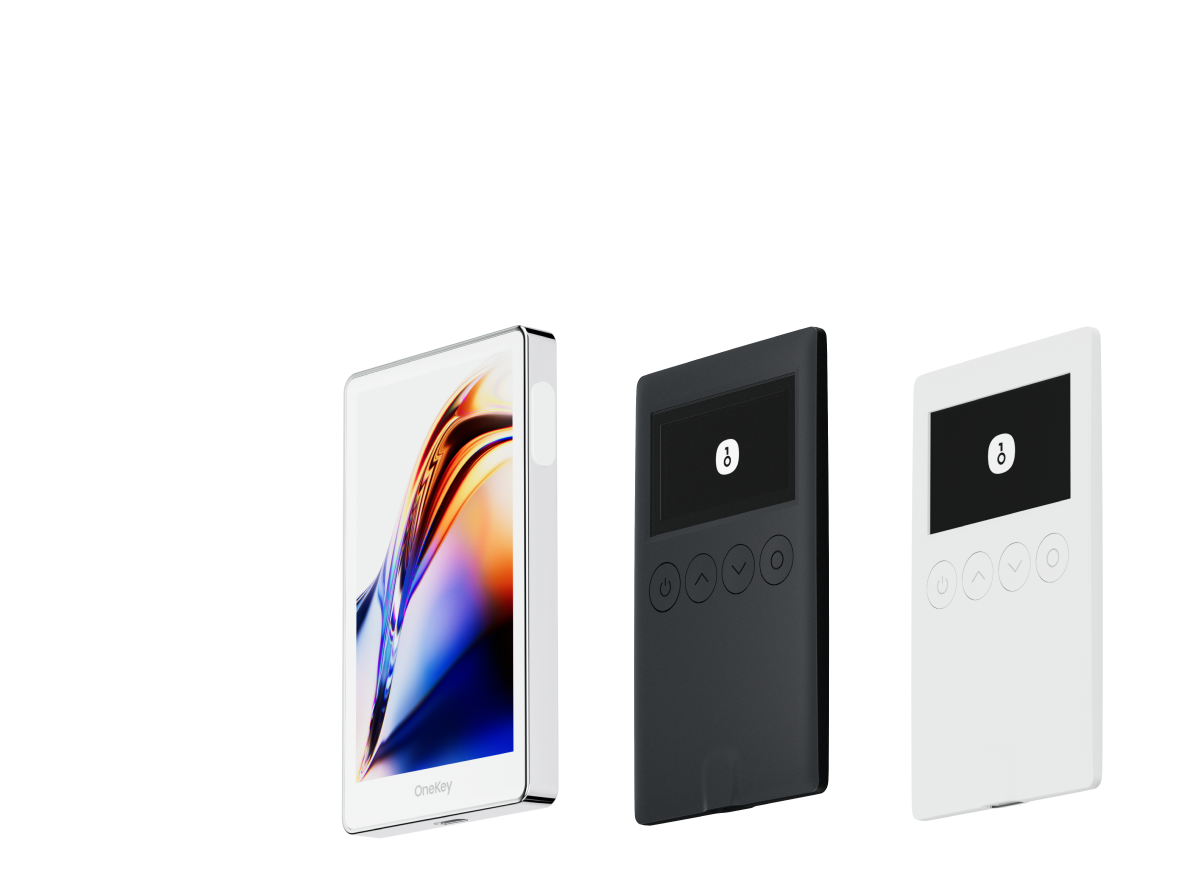
How OneKey fits: safer signing without changing your trading routine
What “OneKey integration” looks like in practice
There is no special “OneKey-only” mode you must enable. Instead, OneKey works as a hardware signing layer for the EVM wallet you already use to connect:
- You connect your EVM wallet extension/app to the trading UI.
- When the UI requests a signature (e.g., enabling trading, key authorization, withdrawals), the signing request is forwarded to your OneKey device.
- Your private key never leaves the hardware wallet, reducing the blast radius of browser malware and phishing.
If you want a public, non-website reference for OneKey’s open-source posture, you can review the project’s repositories here: OneKey on GitHub.
Recommended beginner setup (balanced security + usability)
- Trading wallet: OneKey-backed EVM account used only for deposits, withdrawals, and routine trading signatures.
- Savings wallet: a separate address (also hardware-backed if possible) that does not interact with new dApps frequently.
- Funding path: start with small test deposits/withdrawals, then scale.
This structure aligns with the protocol’s documented risk model (bridge risk, L1 risk, oracle and liquidity risk), which beginners should read at least once: risk overview.
Setting up the EVM side safely (HyperEVM essentials)
Add the network the right way
The official parameters are:
- Chain ID:
999 - RPC:
https://rpc.hyperliquid.xyz/evm - Currency:
HYPE
Use the official instructions: add and use the HyperEVM network, or confirm via ChainList.
Understand gas behavior (so you’re not surprised)
HyperEVM uses an EIP-1559 style fee market; if you’re new to EVM gas mechanics, read the standard: EIP-1559 specification. This matters because some actions will be gas-less on the trading side, while EVM contract interactions require gas.
Security notes beginners actually run into
1) Phishing is the #1 realistic risk
Beginners often lose funds by signing the wrong message on a lookalike domain. The official support guide explicitly warns about verifying URLs and avoiding fake apps: official support reminders.
2) Treat signatures like withdrawals
A “signature request” can be as dangerous as sending a transaction, because typed data can authorize actions you didn’t intend. A hardware wallet helps, but only if you read what the device shows and keep your workflow calm (no rushing).
3) Know what has been audited (and what hasn’t)
Bridge-related code has received external security review; for example, Zellic published an assessment related to Bridge2: Zellic report page. Audits reduce risk, but they don’t remove it—use position sizing and address separation accordingly.
4) Prefer ecosystems with clear disclosure channels
A serious protocol publishes a bug bounty and disclosure process. Review: bug bounty program.
When (and why) to recommend OneKey for this workflow
If you’re starting in 2026, OneKey is most worth it when:
- You want to trade frequently but don’t want a hot wallet holding withdrawal authority.
- You plan to explore EVM apps and need protection from routine browser risk.
- You want an open-source oriented stack you can independently review (start here: OneKey GitHub org).
The simplest rule: use a hardware wallet whenever the same address can both trade and withdraw meaningful funds. That single decision prevents many common beginner losses while keeping the onboarding flow essentially unchanged.